
How to Remove Gel Polish Safely?
Gel nail polish offers a high-shine, chip-resistant finish that can last for weeks, but it doesn’t come off with a simple swipe of remover. Taking it off the wrong way—like peeling or scraping—can seriously damage the natural nail underneath. This guide breaks down how to remove gel polish at home in a way that keeps nails healthy and strong, without causing unnecessary harm.
Why Is Safe Removal Important?
Unlike traditional polish, gel formulas bond tightly to the nail plate. Picking at it or filing it too aggressively can lead to:
- Nail thinning
- Peeling or splitting
- Surface irregularities
- Long-term weakening of the nail bed
According to the American Academy of Dermatology, improper removal techniques are one of the main causes of nail damage related to gel manicures. Taking a little extra time during the removal process helps preserve nail health over the long term.
What You’ll Need
The right tools make a big difference in the removal process. Here’s what’s typically used for safe, effective gel polish removal:
- 100% Acetone – Not to be confused with regular nail polish remover, which may not work on gel.
- Cotton Balls or Pads – For holding acetone on the nail surface.
- Aluminum Foil – Used to wrap and seal the acetone in place.
- Nail File – Helps break the top coat seal.
- Orangewood or Cuticle Stick – Used to gently lift softened polish.
- Cuticle Oil or Petroleum Jelly – Protects the surrounding skin from drying out.
- Nail Buffer – Restores smoothness after the polish is removed.
Optional items include a bowl for soaking or clips that hold the cotton securely in place.
Step-by-Step Gel Polish Removal
1. Wash and Prep
Start with clean hands. Wash thoroughly and dry. Then, gently file the surface of each nail using a medium-grit nail file. The goal isn’t to remove the polish, but to break the glossy top coat so the acetone can penetrate more effectively.
2. Protect the Skin
Before applying acetone, apply a small amount of cuticle oil or petroleum jelly around each nail to help reduce skin dryness.
3. Apply Acetone
Soak a cotton ball in acetone and place it directly on the nail. Avoid oversaturating, as it can drip and irritate the skin.
4. Wrap in Foil
Wrap a small square of foil around the fingertip to secure the cotton ball. Repeat for all fingers. Let sit for 10 to 15 minutes. Timing may vary depending on the brand and thickness of the gel polish.
Tip: Wrapping all nails at once can be tricky. Doing one hand at a time may be easier for better control.
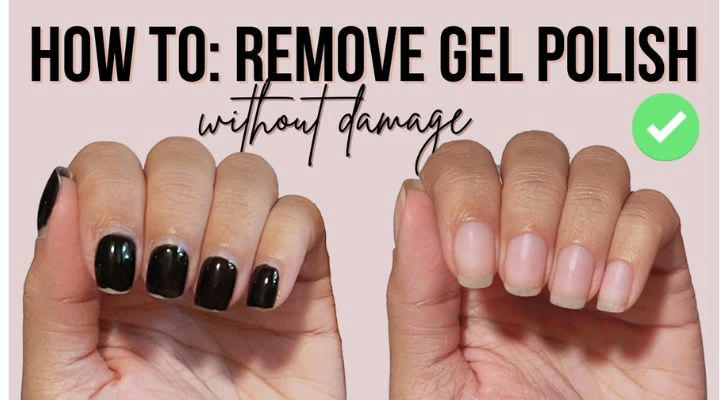
5. Remove and Check
After 15 minutes, remove one foil wrap and gently press on the cotton. Slide it off and examine the nail. The polish should appear soft, puckered, or lifted.
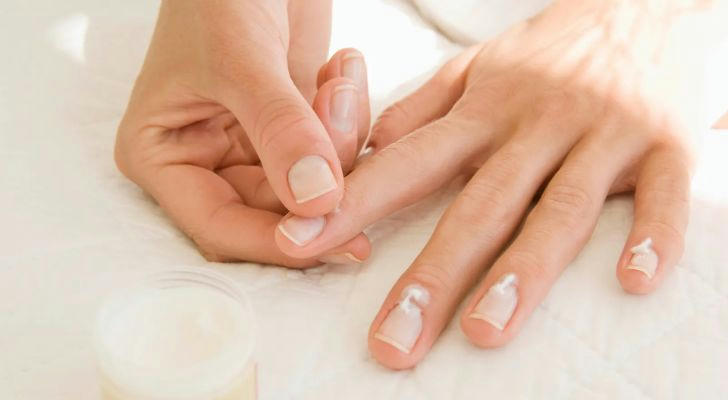
6. Gently Push the Polish Off
Use a cuticle stick to softly push off the loosened gel. Never scrape forcefully. If some polish remains stubborn, re-wrap for another 5–7 minutes and try again.
7. Buff and Hydrate
After all polish is removed, lightly buff the nail surface with a fine-grit buffer. Then, wash hands to remove any residue and apply cuticle oil or hand cream to rehydrate.
Common Mistakes to Avoid
Even with the right steps, certain habits can sabotage the process:
- Skipping the File Step: Filing the top coat is essential for acetone penetration.
- Using Non-Acetone Removers: These usually aren’t strong enough to break down gel.
- Peeling Off Gel: Even if it lifts easily, peeling can strip layers of the nail.
- Leaving Foil on Too Long: Over-soaking may lead to dry, flaky nails and cuticles.
- Over-Buffing: This can thin the nail plate and cause sensitivity.
What to Do After Gel Removal
Post-removal care is just as important as the removal itself. Nails can feel dry or rough even if everything was done correctly. Here’s how to help them bounce back:
Nourish and Protect
- Use cuticle oil daily to keep the nail matrix hydrated.
- Apply a strengthening base coat or nail serum.
- Avoid harsh cleaning agents; gloves are recommended during household chores.
Give Nails a Break
While gel polish is convenient, constant reapplication can stress the nails. Dermatologists recommend taking a break between applications. A 1–2 week period between gel manicures allows nails to restore their natural moisture levels.
How Often Should Gel Be Removed?
For most people, gel manicures last around two to three weeks. Removing the polish at the first sign of lifting or chipping is important to prevent moisture from getting trapped underneath, which could lead to fungal growth.
A study in JAMA Dermatology notes that prolonged exposure to acetone—especially in salons—can increase nail plate brittleness, so at-home removal done carefully can actually be gentler in some cases.
Final Thoughts
Gel polish offers a professional, polished appearance that holds up well over time. But how it’s removed plays a significant role in long-term nail health. A gentle, well-prepared process protects the natural nail and reduces the chances of damage.
By using the right tools, taking time with each step, and following up with proper nail care, gel polish removal can be done safely from home. This approach supports healthier nails and a smoother experience the next time gel is applied.
References
- American Academy of Dermatology. “Gel Nail Polish: Tips for Healthy Use.” www.aad.org
- JAMA Dermatology. “Trends in Nail Damage and Acetone Exposure,” 2019.
- Mayo Clinic. “Nail Care: Do’s and Don’ts.”